Sunday, February 24, 2013

February update


Okay, this is more for me to hopefully feel good....

Garage:
Clean up - yes, they left everything including the trash
Garage door openers x2
Fix storm door
Shelving
Peg board for tools

Only update here is that I park my car in here during snow storms. It's a disaster still.


Downstairs Living Room/Kids Room:
 
Paint- partially done
New flooring
Lights (?)
New windows (?)


Downstairs Bath:

Paint
New Flooring
New vanity counter
Vanity hardware
New towel bars
New toilet paper roll
New Faucet
Mirror over vanity
New vanity light


Laundry:

New top for folding table
Clean out closet
New Washer/Dryer
Hanging drying rack (?)
Paint
Floors


Downstairs Bedroom/ Office:

Floors
Paint
Curtain and shade       


Stairway:
Paint
Tile in front of doorway
New carpet on stairs
New door/windows
Fan instead of super 80's chandelier

Upstairs Living Room:
Paint- accent wall done
Floors
Glass for fireplace
New cable outlet
Built-ins next to fireplace
Mantle


Dining Room/Kitchen:


Take out wall separating the two
Flooring
Paint
Trim paint
Lights

Chandelier 
Sliding glass door where glass doors are


Take out Dutch Door extend wall
New Cabinets
New appliances   


Hallway:
New lights
Paint
Flooring
New doorbell
Built shelves in closet for linens

Upstairs Bathroom:

Take off shower door
Shower curtain bar and curtain
Flooring
Paint
Paint ceiling
New vanity light
New Faucet
Towel bars
Toilet paper bar
Hook on door for towels
More shelving in closet
New vanity countertop (?)
New mirror
New window 
New (non gold) Shower hardware

Boys Room 1:

Paint - accent wall
Electrical for light
Fan
Shave door
New shade
New windows x2   
New heater


Boys Room 2:

Paint
Trim paint
Electrical for light
Fan
Shave door
New shades
New windows x4   
New heater 


Master Bedroom:
 
 
Paint
Trim paint
Ceiling paint
Electrical for light
Fan
New windows x2
New heater


Master Bathroom: Can I just say GUT? This is the worst room in the house
Paint
Trim paint
Ceiling paint
New window    
Extra shelving x100000000000000
New counter for vanity
New vanity light
New shower
Floors  
New faucet 
Shower door

My goal is to ignore the Master Bathroom and eventually gut the bathroom and two hallway closets and somehow incorporate them into one. Or, build a Master suite addition and not worry about anything but updating hardware and paint in the Master Bath.


Hmm, I thought this was supposed to make me feel good....


Friday, February 8, 2013

Sports themed kids room

One of the easier rooms to complete was my oldest sons Sports Themed bedroom. Luckily, we had already gotten started on this themed room years ago in our town house when our second was born. Since he started talking, ball, has been one of his favorite words. Although, like most boys, he loves cars, monster trucks, trains, and tractors. Playing football, soccer, and baseball is something he loves and I figure will outlast those others. Not to mention that his "blankie" is his baseball blankie and it is by far his favorite (over the guitar and elephant blankies).

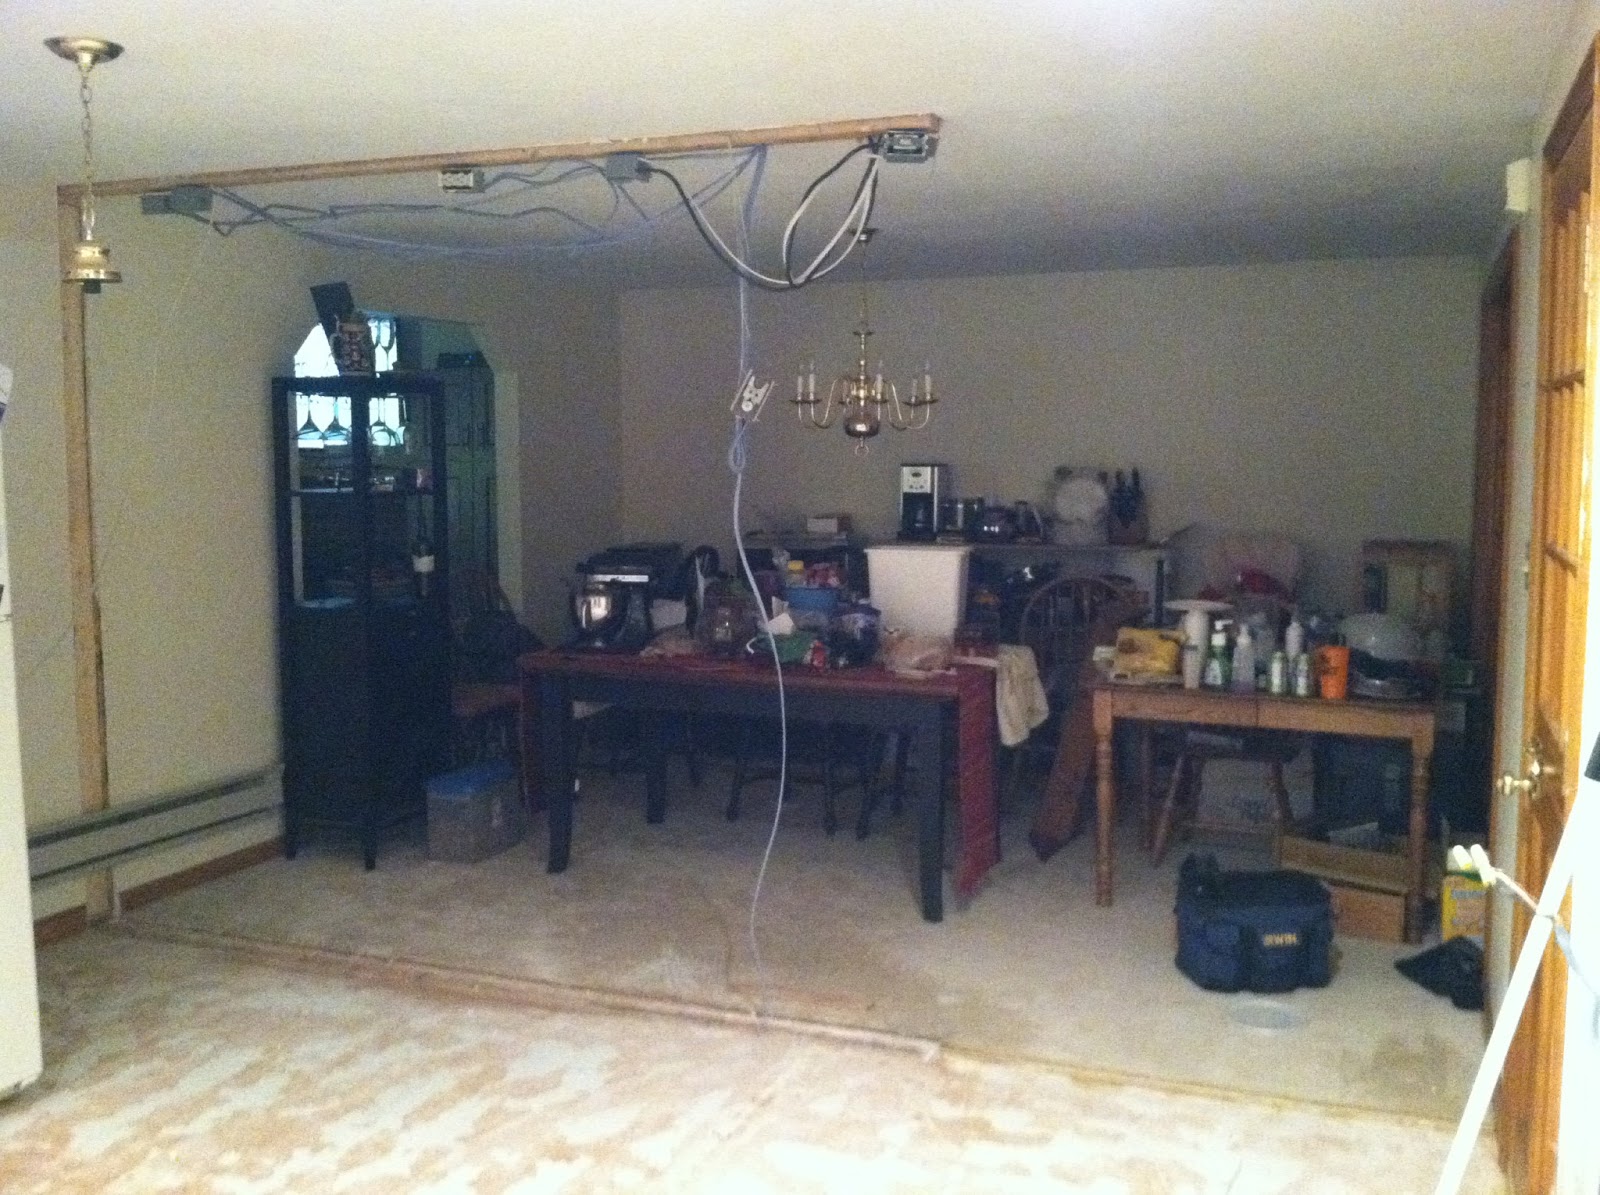
Here's what we started with:


We got rid of one of the twin beds, which was tough knowing that our younger son will need one soon enough. But, we needed the money to pay off our kitchen (see Kitchen for those details). We went and bought twin bed sheets from Target to go with his sports themed light.

 My hope was to paint one wall like this:


But, after lots of thought, I didn't want to have to get all those colors of paint and I couldn't really figure out which wall could be the baseball. Instead, I went for the $12.00 decals that match the light and his bedsheets.


One of my favorite parts of his room is the closet. My son's favorite color is orange. Because we were doing the room in blue, which lacked flare, we decided that a bright orange closet would be just the touch to make it pop. Plus, it matches the color of the basketballs on all his stuff. When I bought the orange, I had originally settled on Sherwin William's Tango. When I got to the store to buy it I decided to go the next shade lighter - because I was told to pick your color and go one lighter - by many people. So I went with Kumquat and I love it! The paint spread great, although in hindsight, I wish I had got a gallon instead of a quart because I literally ran out on the last piece of the wall. I also learned a big lesson buying this paint. I went in and was uneducated. So when I said I wanted enough for a closet in that particular color, the girl said I'd need a quart and mixed it up. When I then ordered 3 more gallons of paint and explained that my Dad was a Contractor and had an account, the girl told me about the different types of paint - the really expensive kind and the cheap kind. By the time I was done I made better choices for my other gallons, but the Kumquat closet was the most expensive paint - which I would have never chosen for a closet. It was $16.89 a quart!


We had the navy curtains from our last two places. My mom made them and if you want a pretty easy DIY project, curtains can be easy if you find one you like and use it as a pattern for a new one. Make sure to line the backs with white linen to avoid fading, and add a more expensive feel.


The red part happened because my son broke the pull down shade that was in the window. We needed something to block out the sun and so I went with the long red to add some color to the room (once again matching it to the light that inspired the room) and to provide shade. The curtains were $17.99 each at Bed Bath and Beyond. I used a coupon for $5 off too.

On a side note: when I got home the curtains were not the same length. Both packages said 63 inches, but one was definitely 1/2 an inch longer. Take them out and measure them if you are buying in two separate packs. It's a pain in the butt because I don't ever get to the store and I had to return them to get some that were the same length and frankly, I just don't have time for that.

For the bedroom color, we once again used a can of leftover paint from my parents. California paints Buxton Blue. I LOVE this color. It's a medium blue and its so pretty. Oh and it was free. I had to do two coats for sure, but the color is so nice. My only complaint is that the California paints are not low VOC's and really smell. If the paint wasn't free, I would have preferred a greener product so my son wasn't breathing in paint fumes. With two kids at home, it took me a weekend to paint the room while my husband tried to occupy them. The second day, second coat only took 2.5 hours.


The Ted Williams picture was one we already had and I just put it in a cheap oak frame left over from my bridal shower - they had blown up a huge goofy picture of me.


The bookshelf was handmade by my grandfather. The picture frames on top I had bought a while ago with the light for $1 a piece at target.


The fan definitely helps to make the room - plus adds a light and some cooling for summer.  The little fan embellishments were $7, eh, probably not needed, but they were cute and help to turn the fan on. My son loves it, shows everyone his room! If that doesn't tell you job well done, I don't know what does.


Again, sorry, I'll get some better pics eventually :)

Cost breakdown:

Room decals: $12 at target
Red curtains: $18 a piece at bed bath and beyond
Fan/Light: $68 at home depot, pull strings $7
Electrician: $260 for 3 bedroom fan/lights and wiring them, 2 bathroom vanities. Hard to break it down room by room.

Lets round it to about $150 for the whole room! Not too shabby.

Sometimes you need to hire a professional

Although we have high hopes for completing this DIY reno ourselves, there are times when you need to put pride aside and just go for a pro.

After weeks of our bathroom lights just sitting there and lots of debate the best way to hang them, it was time to get an electrician in there to do it. We finally figured out the wiring, but found that there is no stud to hang the lights on. We also discovered both lights need a can in the wall and one of our lights is actually a ceiling mount light.

In reading on HGTV's website, one the biggest cost and time savers is to just hire a pro for certain things. Instead of doing it wrong and spending more time and money in the long run!

Downstairs bathroom


It took a weekend, but I got the downstairs bathroom painted. Added a new towel bar. Threw a rug down, hung a mirror, new vanity light, and BOOM - much better.

The original:


The updated:


This is has so far been the least time consuming project. It literally took a couple hours to paint, a couple more for touch ups, hanging artwork, etc.  Oh and the electrician for the light. But, I think the transformation was great! I used the same color as the basement "playroom", Sherwin Williams Dromedary Camel. We still have a new counter top (that is in the garage) for the vanity. I'd like to paint the vanity brown and add hardware, but for now, totally content.

I apologize for the lighting. There is no windows in here, so this was the best that I could do. 

Kitchen renovation part 1

It has begun. What an undertaking it is. But, already I can see that it is one worth taking.

The background:

  Back when we were building, we bought not 1 but 2 display kitchens from a kitchen design center. This would be perfect because we were building and it gave us more then we would be able to afford, including beautiful granite counter-tops. Plus, neither kitchen was as big as we wanted, so the combo of the two would give us a great kitchen, but also give us some bathroom vanities and possibly built-ins for the fireplace.  

Then we bought, and owed. We paid $7,500 for $20,000 in kitchens and planned on paying it off with our construction loan. Well, without that loan we owed $7,500 for a kitchen that was sitting in our garage. So, we have been slowly paying it down, but this is not ideal. The bonus is, I hated the kitchen in our house, it was real negative on the house for me. It was in great shape, but just not functional for us. The cabinets were small, we had to put our plates sideways to get them in. There was no counter space, which became extremely obvious when I tried making sugar cookies at Christmas and had to make them on the dining room table. So, having this beautiful kitchen just sitting there, allowed us to replace a kitchen that we most likely would have not gotten around to for years. Because honestly, who has $20,000 just laying around, or can save that... Not us. Not with two little ones and a 3rd on its way.

The next tricky part was scheduling my Dad. He is extremely busy with his own construction business, so to get him over here to help install a kitchen became a matter of when? So, luckily I was able to get a little pressure. I posted our old kitchen on craigslist and sold it! $1,400 for the cabinets, trim, fridge, sink, counters, and stove. Great deal! And it gave us a date that we had to have the kitchen out by.

The demolition:


Took one Saturday for 3 guys (Dad, husband, and brother). This was a little trickier then most demos because they needed to keep everything in good condition. Plus, they ripped up our nasty metallic linoleum floors AND removed the wall between the kitchen and the dining room. Great work for a day!!


One thing this uncovered is that we will definitely be needing to splurge and bring an electrician in. As you can see we had to live with lots of exposed wires for a week or so. Baby gates went up and luckily the kids seemed uninterested in them.

The Installation-


By the end of weekend 1, we had 3 bottom cabinets in and 1 upper.

Weekend 2 was better. We were able to get the door out, and 4 more cabinets in.


This still meant no sink, no dishwasher. Luckily at this point we still have the stove and the fridge. But that was soon to change. By the end of weekend #2, we lost the fridge and the stove. The people buying our old kitchen were coming and we had to get all the stuff in the garage for the pick up. So, we brought up our new fridge, but were stove-less for a while. We were still waiting for the gas guy to come install the gas line.

Washing dishes in the bathroom wasn't the end of the world, but I'd prefer not to do it anymore. It did bring back memories of my husbands apartment in the city when we first started dating. He lived in a basement apartment that was just a room. We hooked it up with a burner and a little convection oven, but dishes were always done in the bathtub.


Weekend 3, two days and we were semi complete. Hood went in, gas line in, sink in, all cabinets, and even the island. The best part - I LOVE IT!!!! We may be living with plywood countertops and plywood floors for quite a while, but I don't care. I absolutely am speechless at the amount of space we have in there. Plus the new appliances are awesome. You can see our granite in one of the pictures. We have the majority of the granite in the garage, but because of our strange configuration we need a little bit more to finish it up. Nothing like renovating a kitchen on a negative budget, hopefully soon our money tree will grow and we'll get "kitchen renovation part 2".  But, for now, I just look in that room and I see the transformation that this house will be. I love my new kitchen.


Side Note:
Unfortunately, in the process of taking the wall down, we learned that the heater and the wires were also those that connected to the heaters in the office and the laundry room. So we are now at a month without heat in those rooms. Crank the wood stove and the heat and pray for no frozen pipes. Oops.